Case study · 2026
How I used Higgsfield AI to fix an unfixable shot
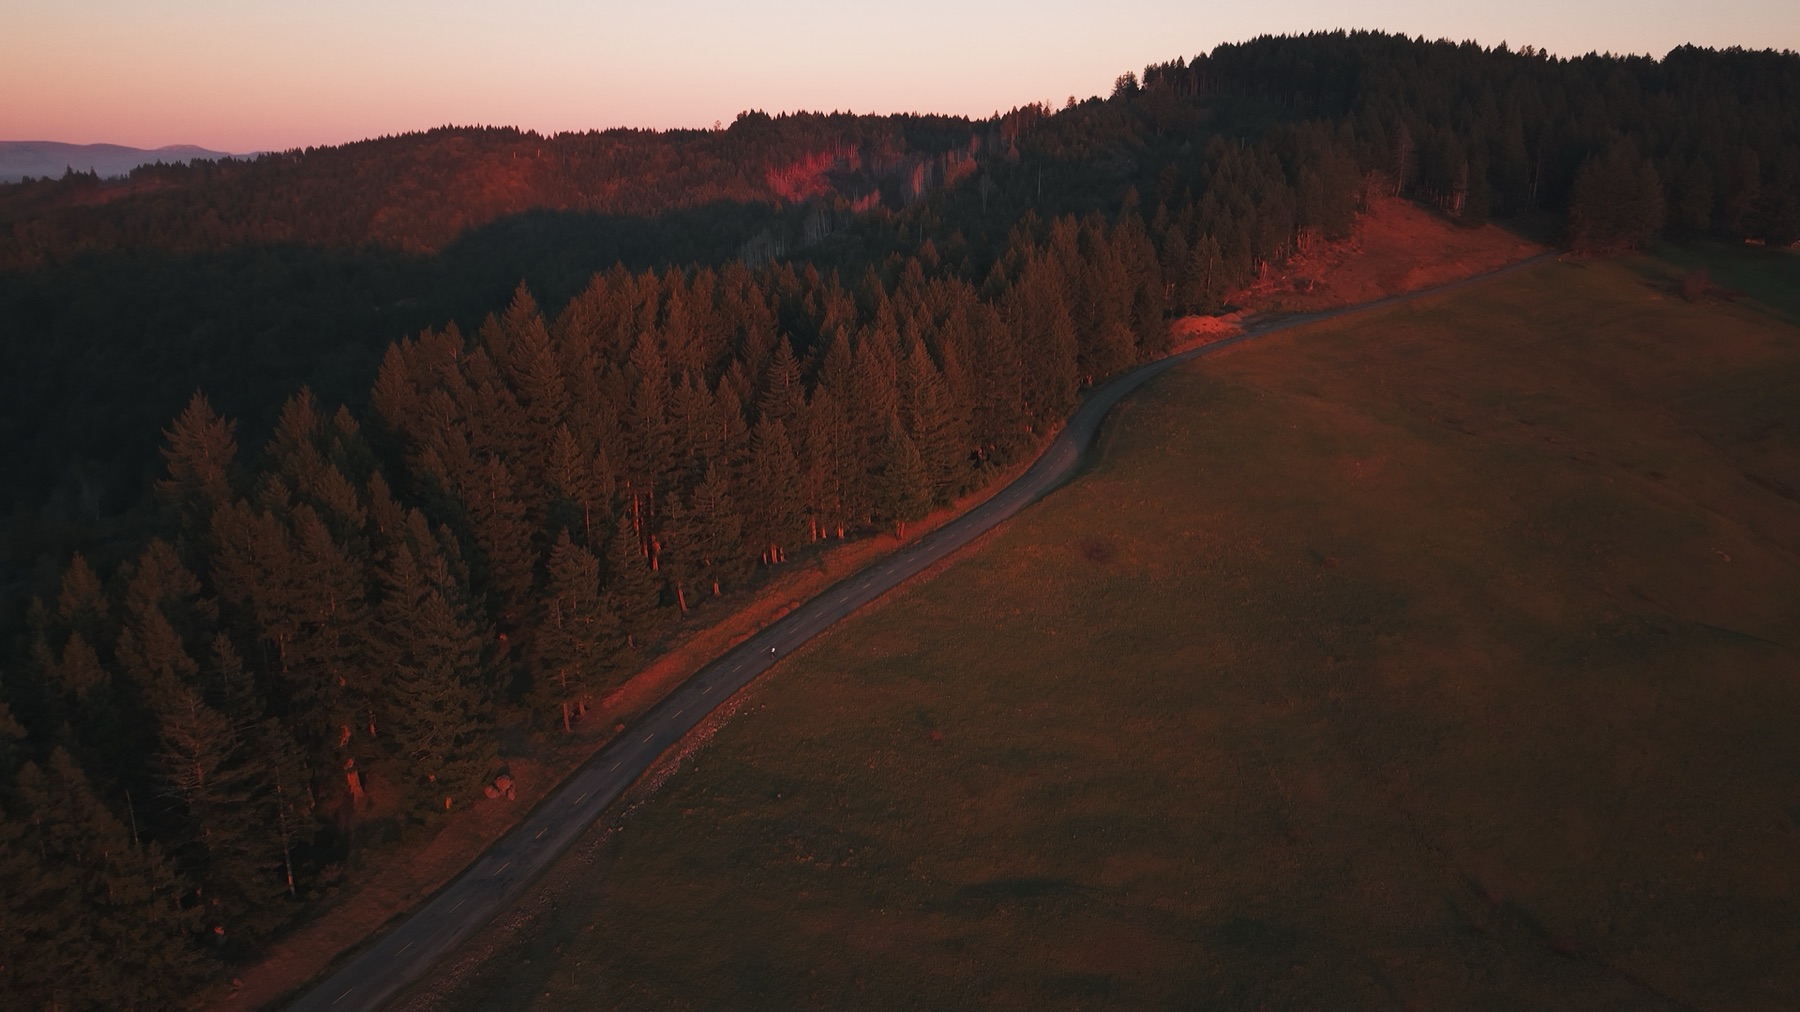
The shot I needed didn't exist. I had a take of a cyclist on a forest road at sunset. Warm light, long shadows, all of it. The next scene in my edit was overcast and gray. Cutting between the two would feel violent.
Reshooting wasn't on the table. Neither was twenty hours of frame-by-frame VFX to re-sky and re-grade the original.
What worked was Higgsfield AI. You feed it a video and a few stills of the look you want, and it generates a new version of your shot in that look. Same camera move, same framing, new world.
It worked. With one big problem. Here is what I did, in order.
01
Export the base plate
I pulled the cyclist take out of Resolve as its own self-contained file at full resolution. This is the base plate. It is the foundation Higgsfield uses to learn the camera move, the framing, and the composition.
Whatever motion you want preserved has to be in the base plate. Higgsfield respects what is in the source clip. If your camera move is locked here, the AI version will be locked too. If your source has a wobble, the AI will faithfully recreate that wobble.
02
Match the destination look
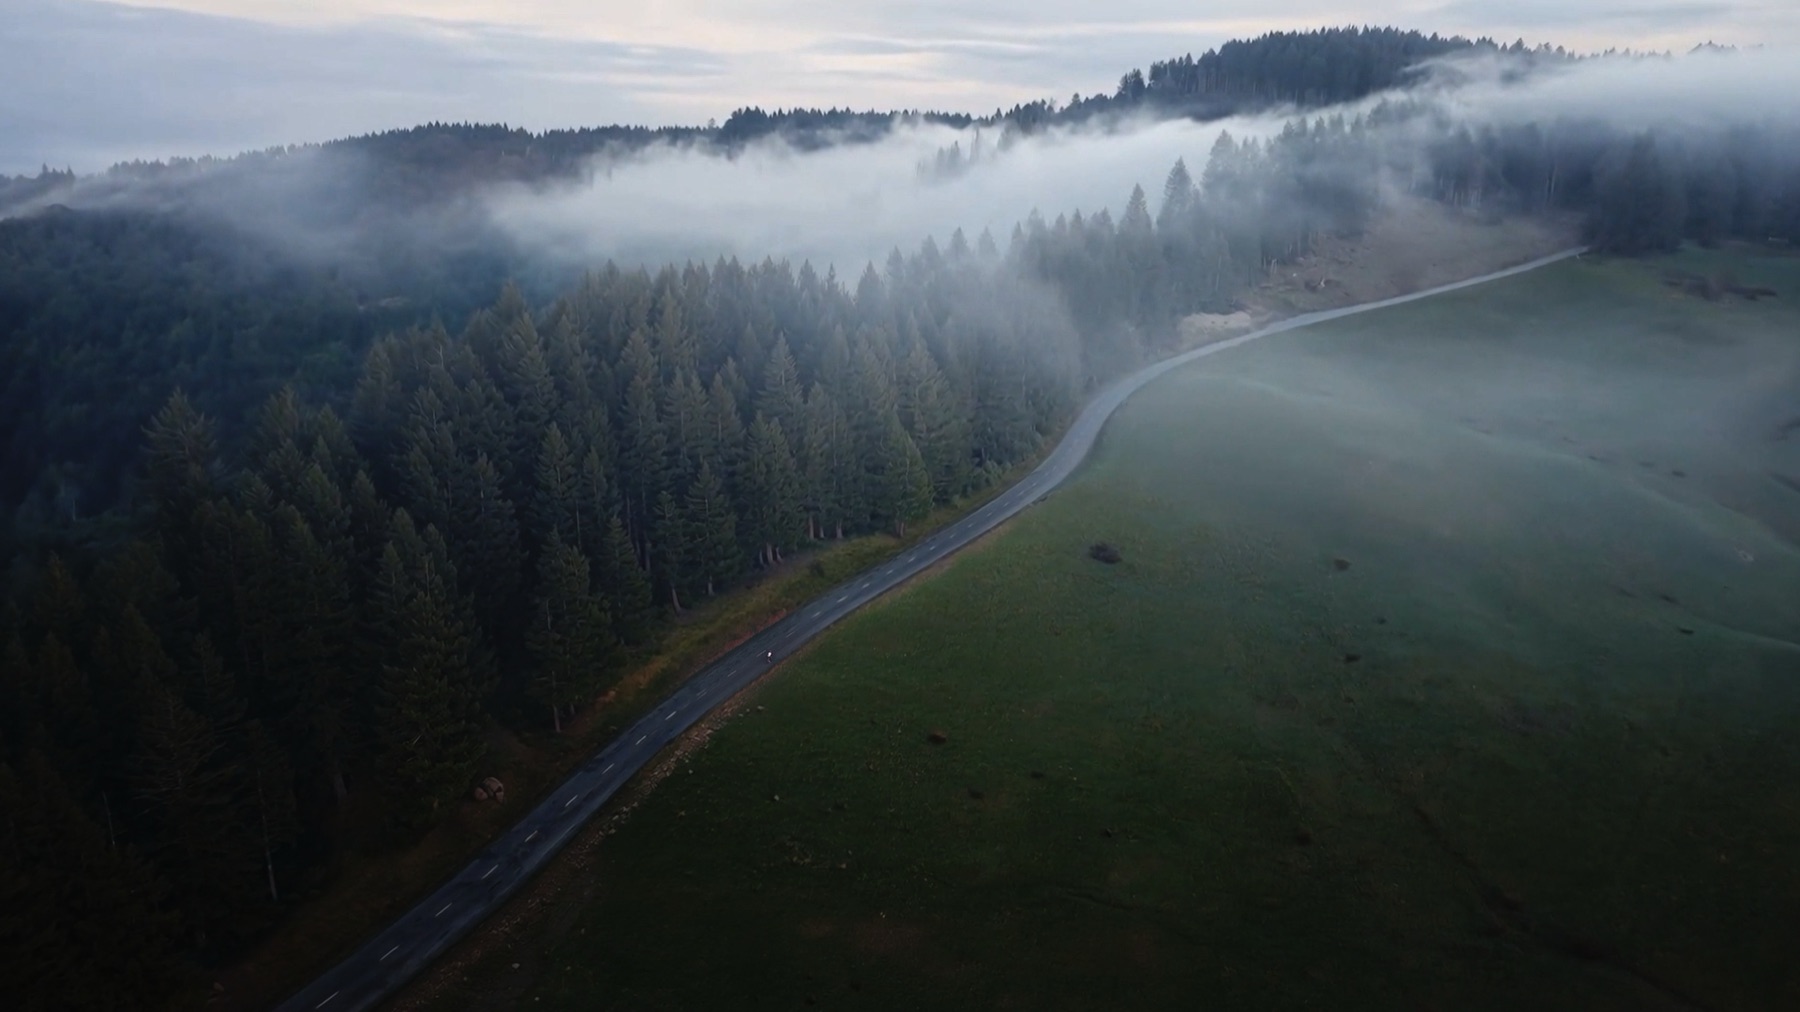
The next scene in my edit was the look I needed to land in. I grabbed reference stills from it: foggy redwoods, cool ambient light, the kind of overcast that you cannot fake in post.
Pick stills where the look is unambiguous. If the destination scene has a specific tone in the trees, find a frame where that tone is obvious. The AI uses these as the targets for the regeneration, so generic stills give you generic output.
03
Generate the new-weather version
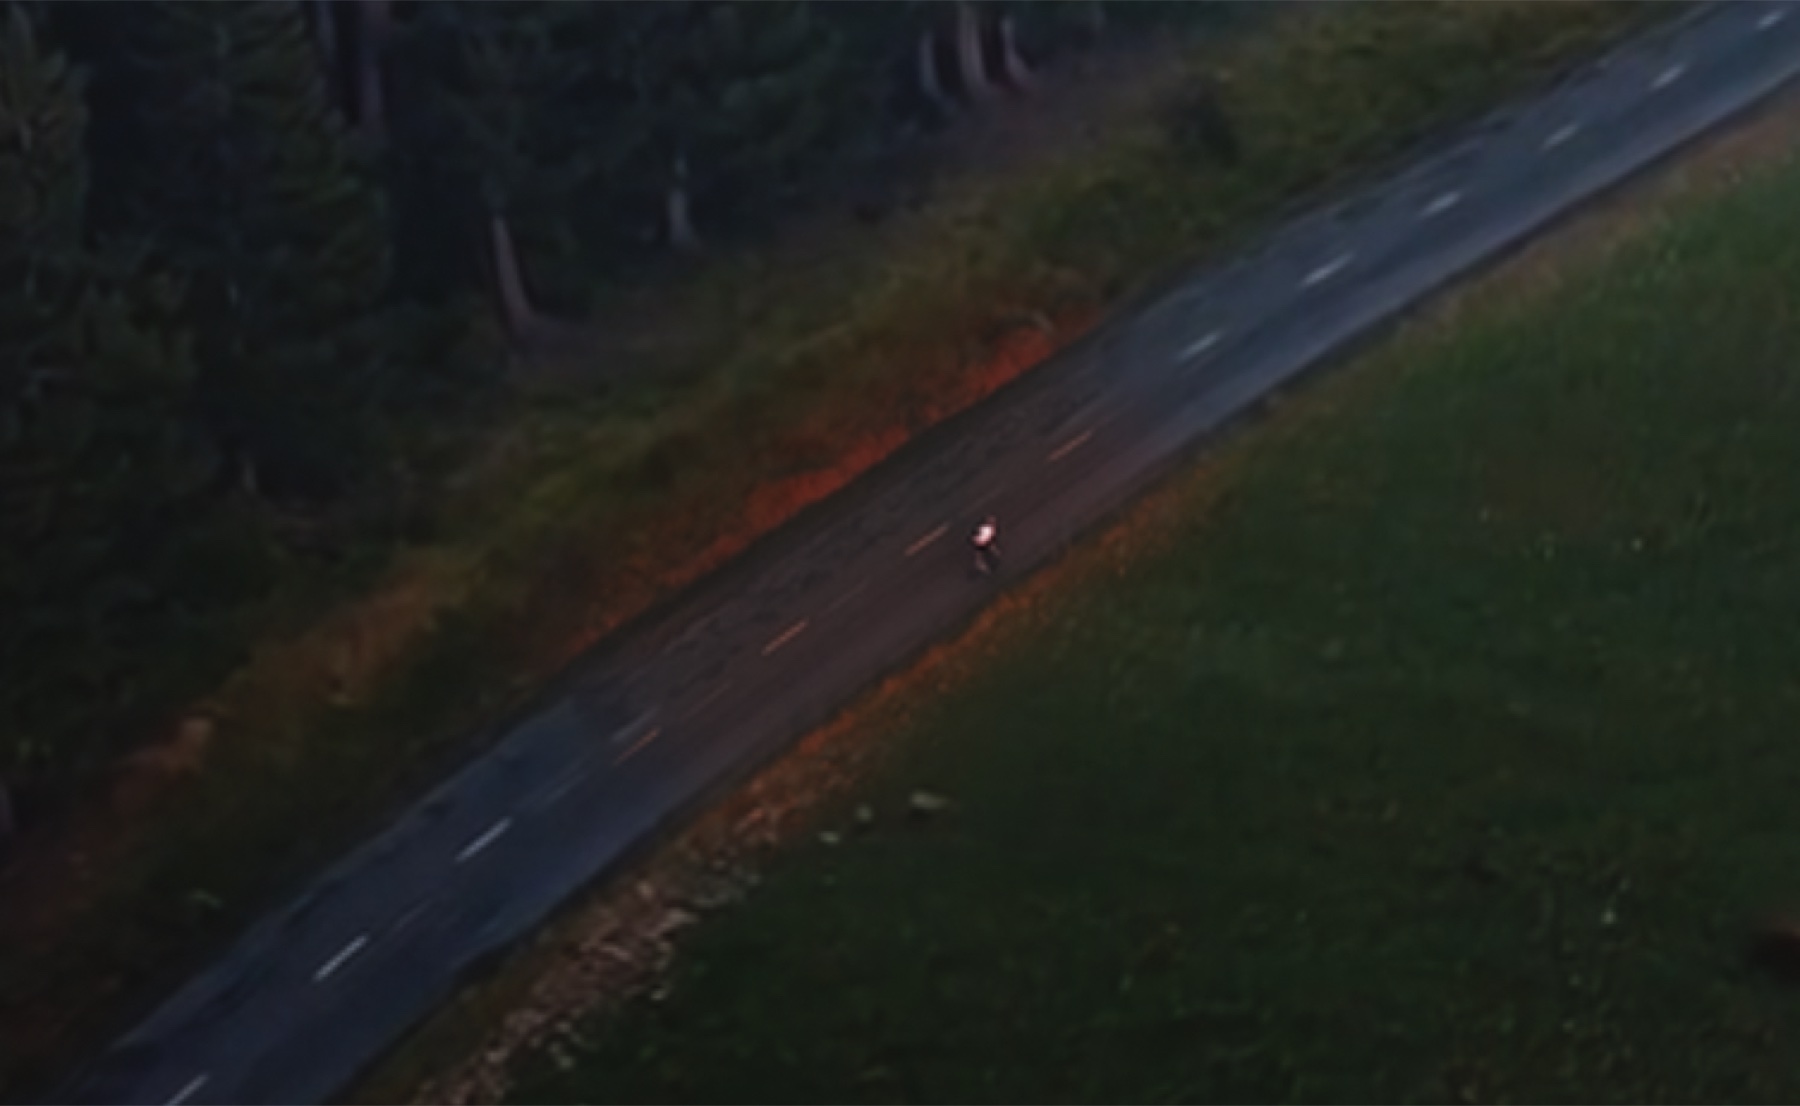
I loaded the base plate and the reference stills into Higgsfield. The output is a new version of the shot, same camera move and framing, rendered in the look of the references.
Sunset cyclist became overcast cyclist. Same road, same motion through the trees, gray sky, flat light. Cuts straight into the next scene. Nothing in the wide frame screams that the weather was rewritten in software.
Here is the exact prompt I used, pasted verbatim. No prose tricks, no engineered phrasing. Specificity beats style.
The exact prompt
Higgsfield · Kling O1
change the time of day in the video to match the reference image 10am redwood national park fog. maintain original image motion, sharpness and quality
Model
Kling O1
Feature
Edit
Output
1920 × 1080
Inputs
Video + 1 still
The problem
The AI butchered the cyclist
This is where AI generation falls apart. It handles wide shapes well. Sky, road, treeline. It does not handle fine moving detail. My cyclist came out warped. Limbs in wrong positions. Helmet half-resolved. Face smudged into nothing.
Shipping that is exactly how AI work starts looking like slop. So I didn't ship it.
The AI plate's background was right. The cyclist was the only thing wrong. So I kept the real cyclist from the original take and used the AI plate as the world around him.
04
Stack the layers in Resolve
Imported the AI clip into the project and dropped it on the timeline. Original on V2, AI on V1. The original sits above the AI in the layer stack.
Order matters because Fusion uses the timeline order to lay out the source clips inside the comp. Stack them how you want them ordered before you open Fusion.
05
Make a Fusion Clip
Selected both clips, right-clicked, chose New Fusion Clip. This compounds the two layers into a single clip on the timeline that you can open in the Fusion page and treat as one composite.
If you have never done this: a Fusion Clip is a container. Both source clips are still there underneath. Inside the container they show up as MediaIn nodes you can wire together however you want.
I double-clicked the Fusion clip and switched to the Fusion page tab at the bottom of Resolve.
06
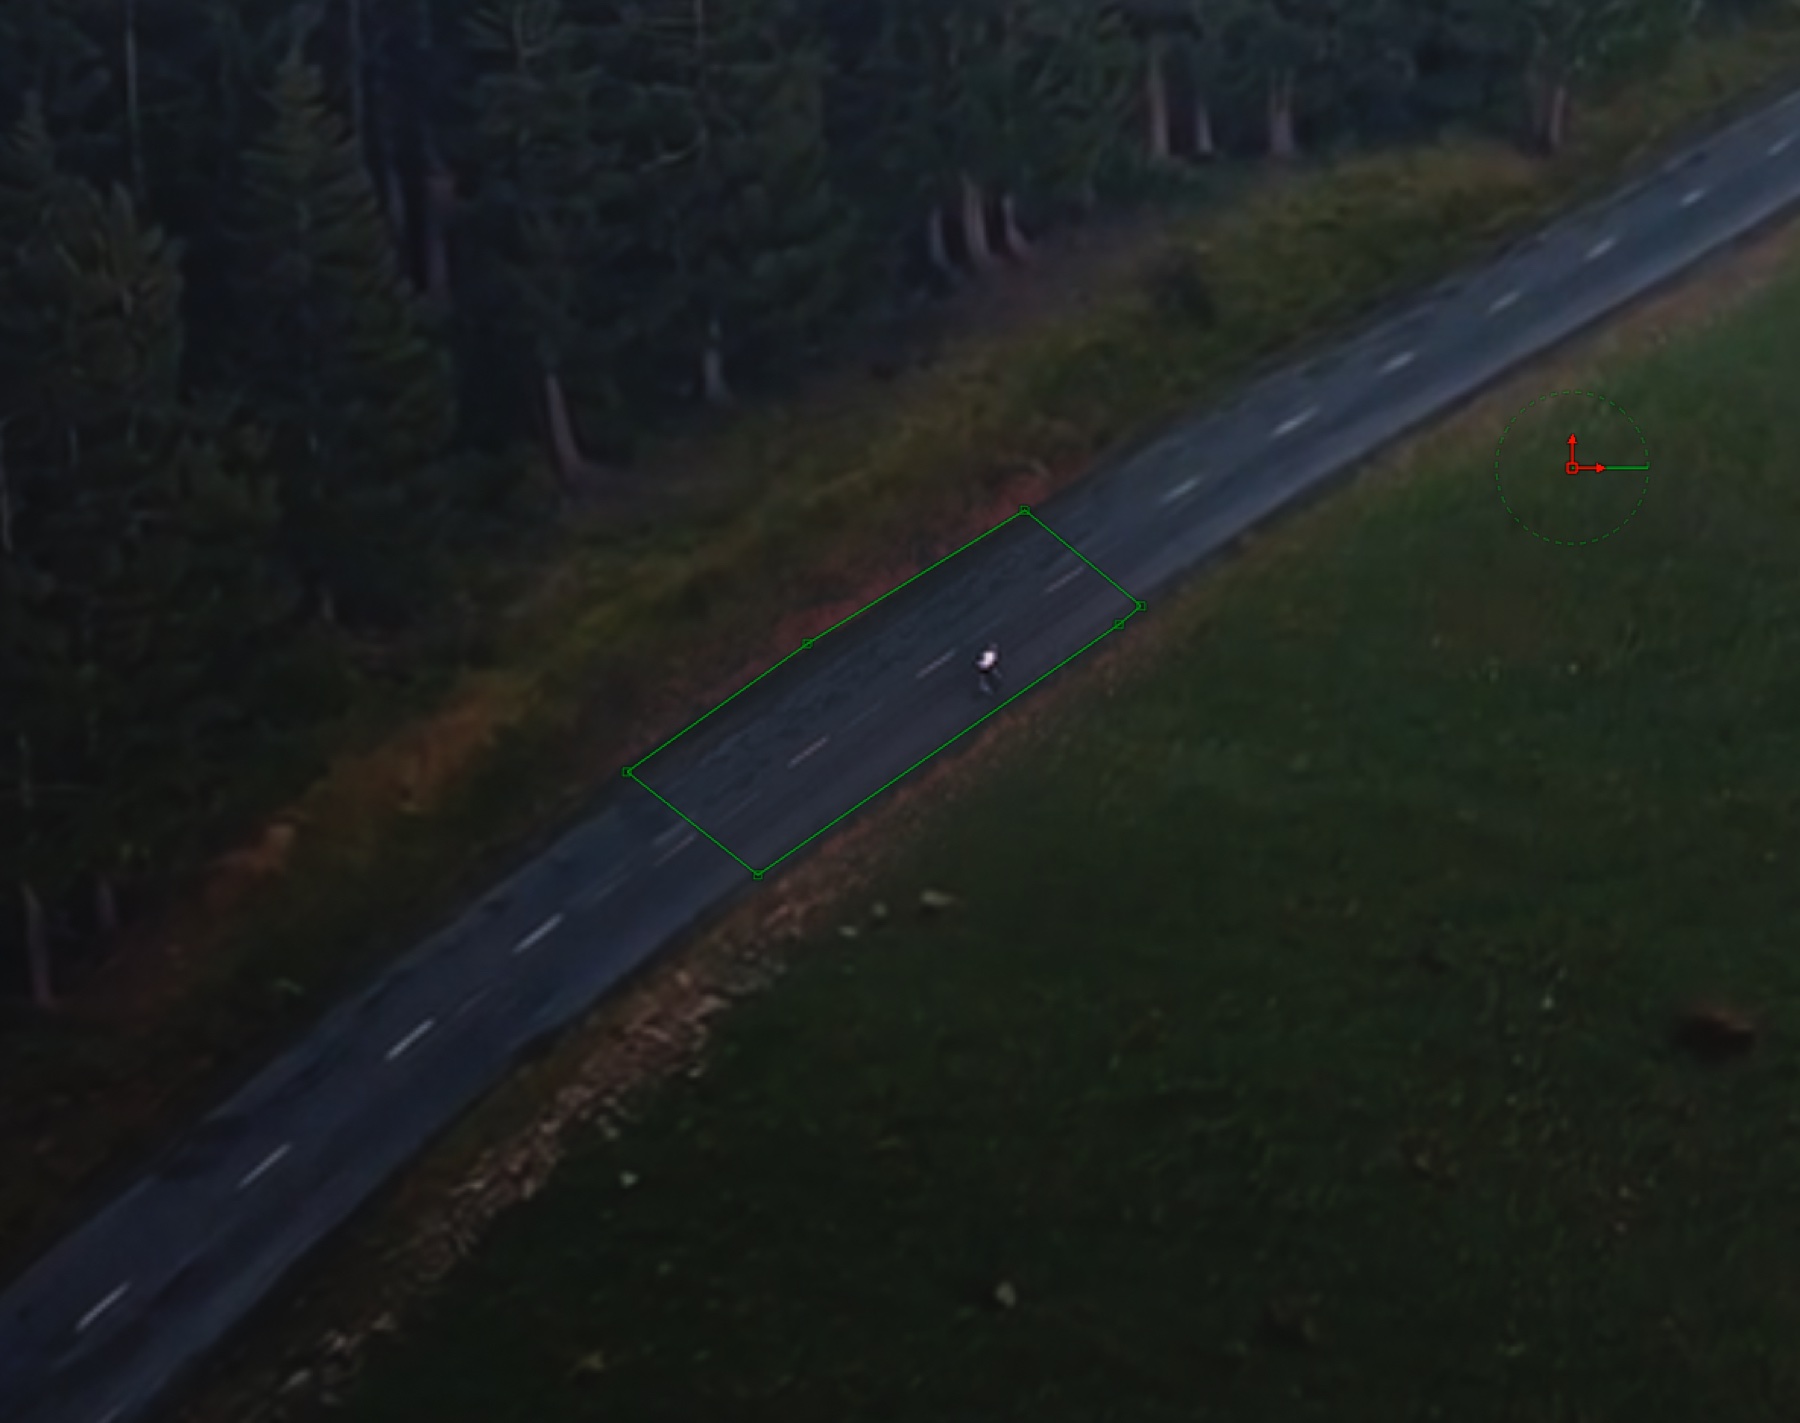
Track the AI road
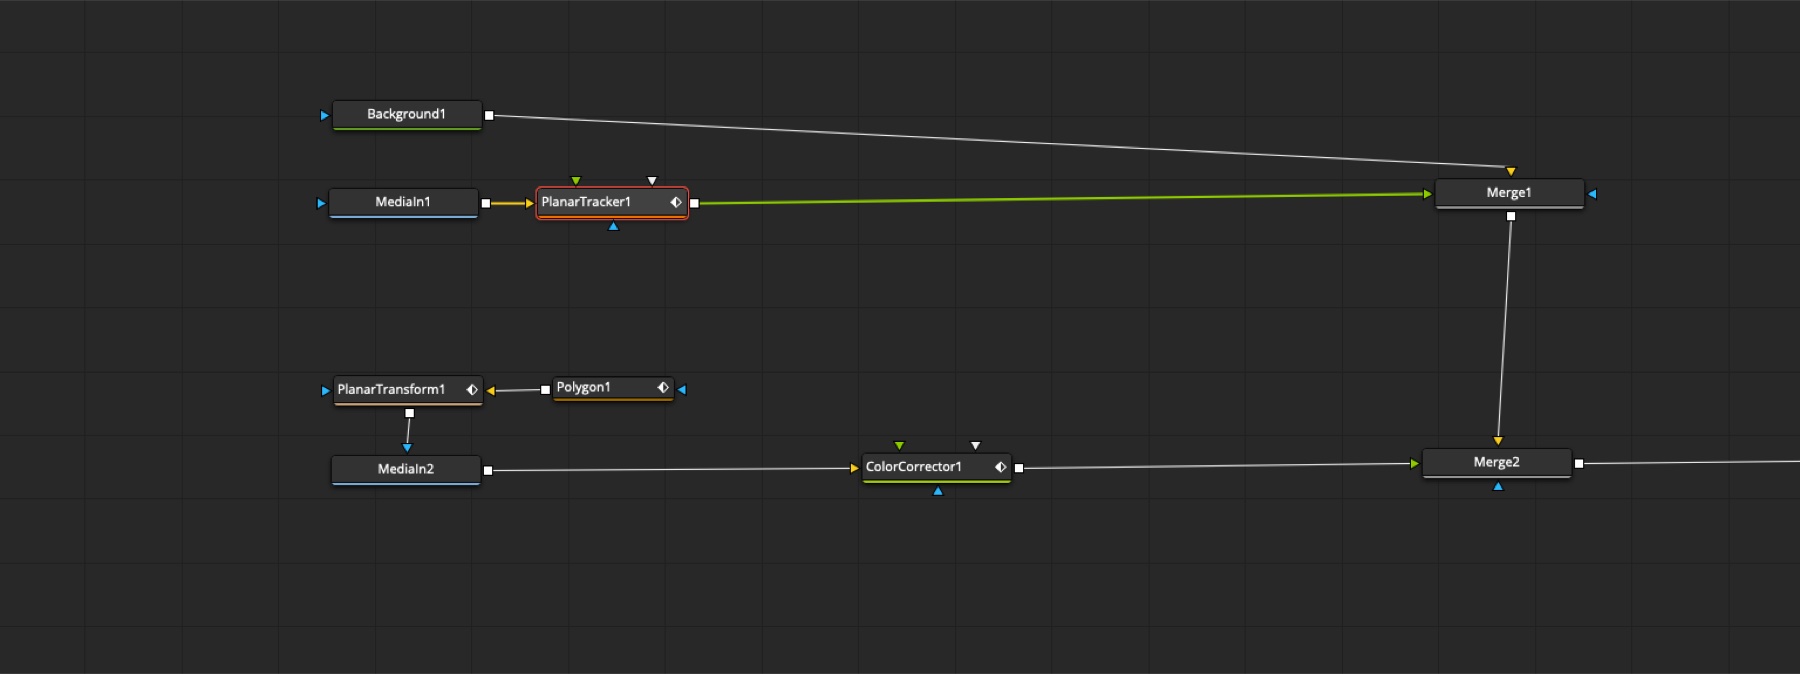
Inside Fusion you get two MediaIn nodes, one per source clip. I hooked a Planar Tracker to the AI clip's MediaIn output, drew a tracking region on the road, and picked an area with enough texture for the tracker to lock onto. Tracking mode set to Translation, Rotation, Scale, then let it run.
Track the AI, not the original.
You are not aligning the two clips with each other. You are capturing the AI road's motion data so you can drive a mask along it later. The patch has to follow the world it is landing in, not the world it came from.
07
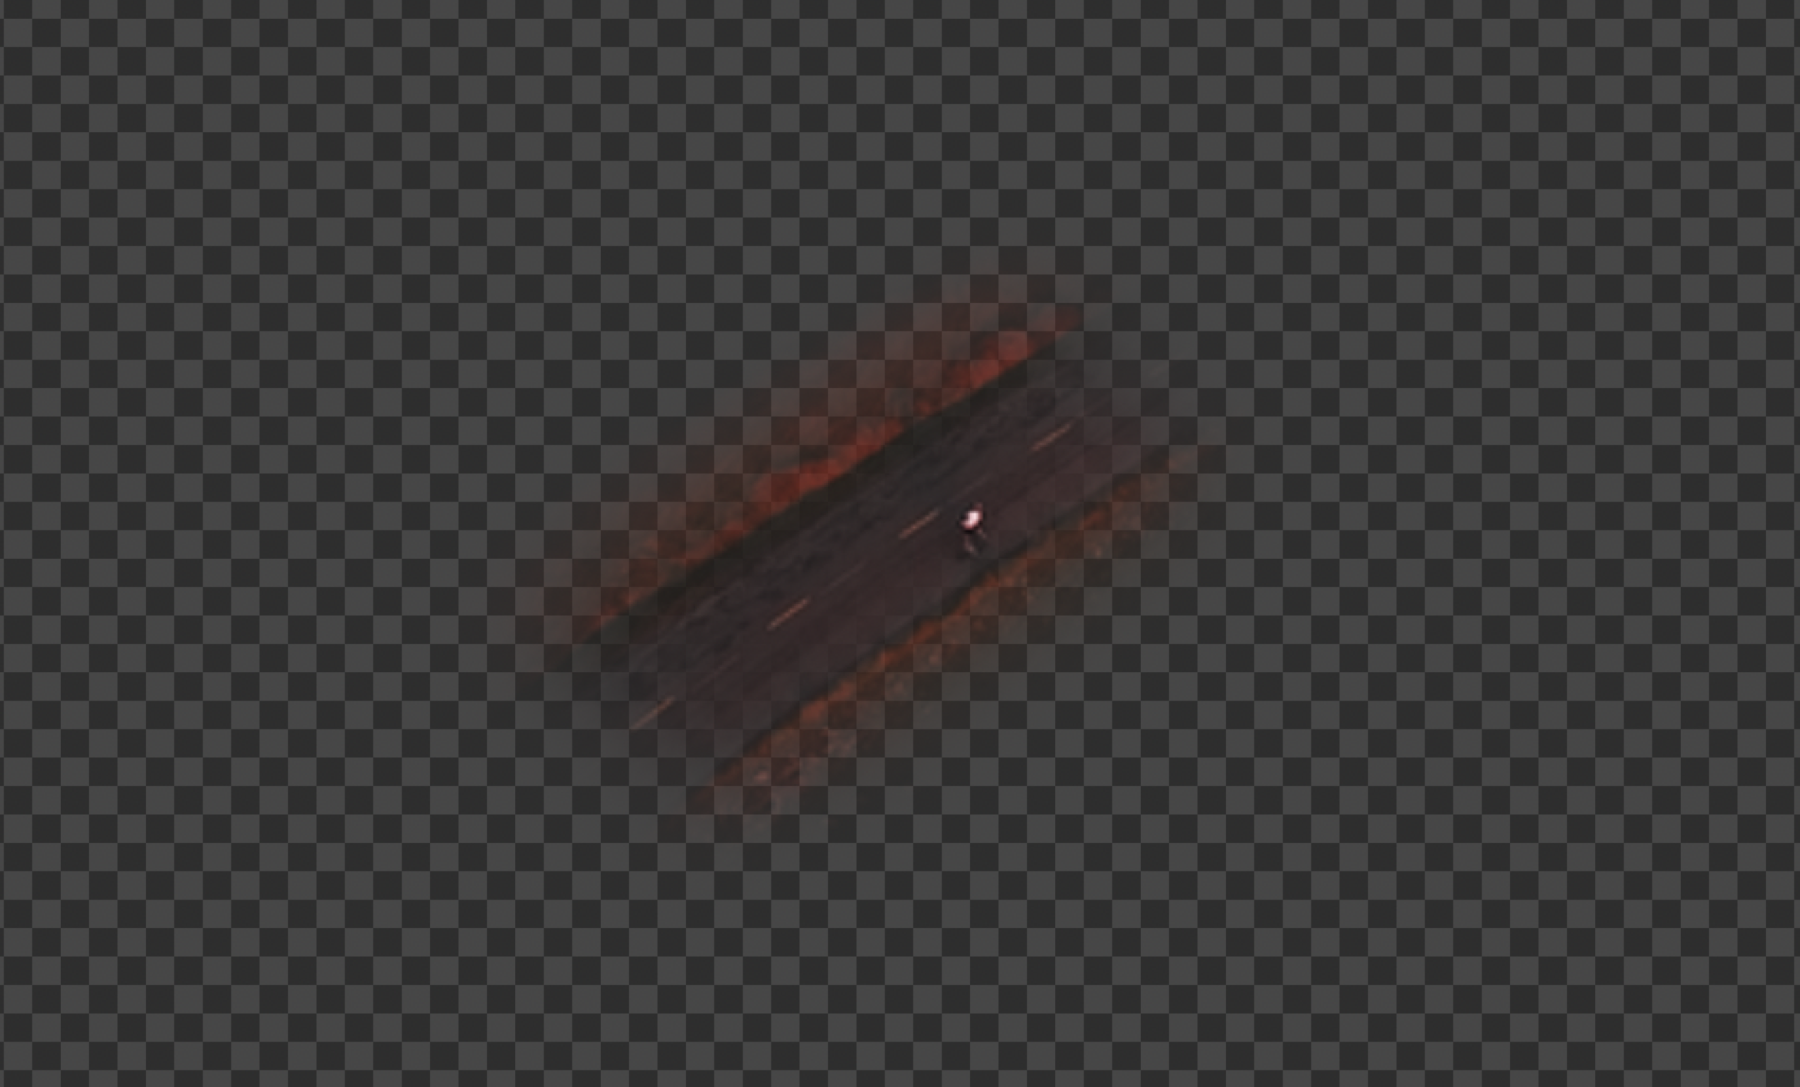
Cut around the cyclist and a slice of road
I added a Polygon node and traced the shape of the patch. The patch is not just the cyclist. It includes a slice of road under him.
Cutting tight to the rider is the obvious move and it is wrong. The seam where his tires meet the AI road is the most visible failure point in the comp. Tracking errors and color mismatches will scream there. Including a chunk of original road beneath his wheels means the cyclist sits on real footage, and the seam moves to a place where it is easier to hide.
I feathered the polygon edges. A hard edge reads as a cutout. A soft edge blends.
08
Lock the cutout to the AI road
I added a Planar Transform node, fed the polygon into it, and drove it with the data from the Planar Tracker in step 06. The mask now follows the AI road wherever the camera moves.
Without this, the cutout would sit static while the AI background slid underneath. The cyclist would drift off the road within half a second.
09
Color-correct the patch
The patch is sunset. Warm, golden, contrasty. The background is overcast AI. Cool, flat. They do not match out of the box.
I added a ColorCorrector on the original clip's branch and used the tracked polygon as its effect mask, so the color shift only applies inside the patch. Pulled temperature, contrast, and saturation toward the AI plate. Got it close, then let my eye catch the rest.
10
Keyframe the color across the shot
The AI plate's grade is not static. The light shifts subtly across the clip and a single fixed correction will not hold up.
I set values at the start of the clip, scrubbed forward to a point where the AI grade had drifted, and set new values. Repeated through the shot. Resolve interpolates between keyframes and the patch follows the AI's grade as it evolves.
11
Merge and finish
A Merge node with the AI plate as the background and the masked, color-matched original on top. Output to MediaOut, back to the timeline.
I went back to the Edit page. The Fusion Clip plays back the composite. Real cyclist, real road slice, AI sky, AI everything else.
See it in the cut
The full film
The shot in this case study lives somewhere in the middle. See if you can pick it out.
AI is good at filling in worlds. It is not good at the thing in the middle of one. If you can isolate the part it cannot do and replace it with real footage, you get a lot of mileage out of an imperfect generation.
Higgsfield got the sky.
I kept the cyclist.
Elsewhere